
HOW TO SETUP A VOUCHER
Start by logging into the voucher administration:
https://calgolfnews.com/voucher/admin/
*Login provided by owner*
Step 1
Add the golf course contact or owner.
Click on USERS > Add USER
- User Groups: Make sure you select “Golf Course Admin” from drop down.
- Fill out the rest of the login details.
- You will be providing the golf course with a username and password. Username is their email, password you will create during this process.
- Check both of the boxes for CONFIRM & ACTIVE
- Confirm = You are confirming its ok to add this user’s email into the system
- Active = Their account will be active to login to.
- Click Submit
Step 2
Add Golf Course(s) to the system.
Click Golf Course > Add Course
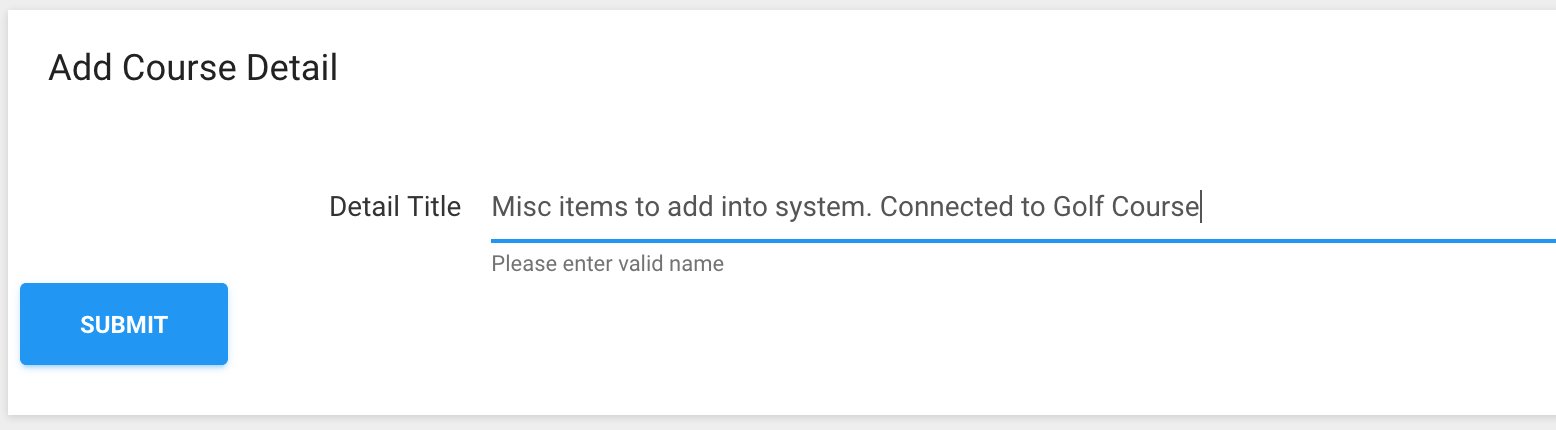
- Course Details: The is a section called course details. These are additional features that show up on the front end for the user to use.
-
- You will add course details before adding the course.
-
- Click Add Course
- Select the owner/contact of the course from the course owner drop down.
- Fill out all the additional corresponding information about the course. This is available to public on front end of voucher system.
- Tax %: This is add a tax % for individual courses based on location. The system will NOT auto add tax since every course can be in a different state/city.
- Logo/Image: This will display on the front end in the coupon details section.
- Detail Image: This is the main image which shows up on the voucher preview and details page.
- Course Details: Check the appropriate details which apply to this course.
- Click Submit
- Check both of the boxes for CONFIRM & ACTIVE
- Confirm = You are confirming its ok to add this user’s email into the system
- Active = Their account will be active to login to.
- Click Submit
Step 3
Create the golf course voucher.
Click Vouchers > Add Voucher
- Select the course to add voucher to in the select course drop down.
- Fill out all the corresponding information for voucher.
- Price vs Retail Price: Price is what you want to sell the voucher for, retail will show crossed out on the front end.
- Publish Coupon: Make sure this is checked when you want the voucher live.
- Click Submit
Step 4
Tracking a voucher for commission purposes.
*This only works if you use the tracking link provided when selling the voucher”
After you click submit to “save” the voucher from step 3, a referral partner URL will appear at the bottom of the voucher when you click to edit it.

When posting a voucher in a EMAIL or 3rd party website, use this custom link to link to the voucher. So the sales can be tracked,.